


Everyone, at some point, has had to make a model, whether for school, university, or out of pure love for crafts. The truth is that we all know what a model is, but sometimes we might feel that making one requires so many things that we don't even know where to start. Perhaps your child, your niece/nephew, or you yourself need to know the step-by-step process of how to make a model. That's why we've prepared the best tips for you, so you can tackle your project in an organized way and achieve the results you desire. Remember to explore our model-making materials; we have just what you need.
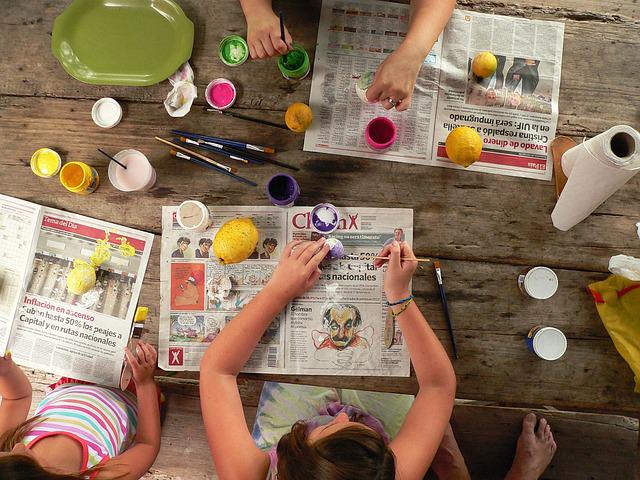
How to build a model: Steps to follow
Choosing a theme: Before starting to buy materials or anything else, you need to know what you are going to make to determine the next step. Were you assigned a specific theme, or do you want to work with a free theme? Understand clearly what work you need to do to begin building your model.
Research: Research your chosen topic to gather precise and detailed information. This will help you represent your model more realistically.
Choosing materials: While a model can be made with any type of materials and craft products, our advice is to be very clear about the elements you will use in your project. This way, you won't have leftover products, nor will you be missing anything important. Make a list of all the craft products your model will need.
Create an initial design: If you want to be sure you'll achieve exactly the result you're imagining, we recommend making a drawing to capture your ideas and serve as a guide for what you need to do.
Model base: Build the base of your model. You can use cardboard or wood as a base. Make sure it is sturdy enough to support the weight of the elements you will add.
Construction of main elements: Begin to build the main elements. If you are representing a building, for example, cut and assemble the walls and roofs. If it's a landscape, model the hills, rivers, or any main features.
Details and finishes: Add details to your model to make it more realistic. You can paint, add textures, vegetation, lights, etc. Pay attention to small details, as they make all the difference.
Drying time: If you are using materials like clay or glue, make sure to allow sufficient time for them to dry before moving on to the next phase.
Final assembly: Place all elements in position and adjust any necessary details. Make sure everything is securely fixed.
Creative ideas to personalize your model
How to make a model that stands out? Here are some additional suggestions:
- Use lighting to highlight certain areas (like buildings or roads).
- Incorporate movement using small motors or movable parts.
- Add sound if you are representing a dynamic scene like a city or a park.
Materials for models
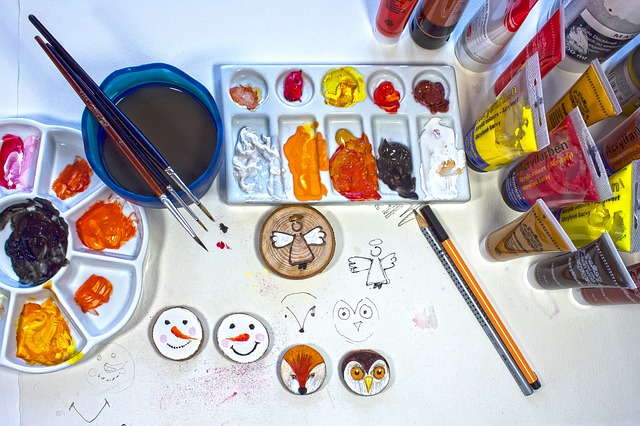
The materials you'll need to make a model can vary depending on the type and scale of the model you're building. Here's a general list of materials you might need; remember that many of these materials can be found in art supplies:
-
Base:
- Cardboard or wood to build the model's base.
-
Cutting tools:
- Scissors for cutting paper and cardboard.
- Utility knife or blade for cutting stiffer materials.
-
Structural materials:
- Cardstock, thick paper, or cardboard for building walls, roofs, and main structures.
-
Adhesives:
- Glue to join model pieces. You can use school glue, hot glue, or craft glue depending on your needs.
-
Paints and brushes:
- Acrylic or watercolor paints to color the model.
- Brushes of different sizes to apply paint.
-
Modeling tools:
- Modeling clay or putty for creating three-dimensional shapes.
- Toothpicks, sculpting tools, or any small object for fine details.
-
Decorative materials:
- Decorative paper, fabrics, or similar materials to add textures or details.
- Colored cardstock for details and small elements.
-
Vegetation and landscaping:
- Moss or artificial grass or similar materials to represent vegetation.
- Wooden sticks for trees or bushes.
Common mistakes when making a model and how to avoid them
If you're already researching how to make a model, it's important to be aware of the most common mistakes so your work doesn't encounter setbacks:
- Not measuring proportions correctly.
- Using too many heavy materials on a weak base.
- Forgetting drying times between phases.
- Over-decorating and losing clarity in the representation.
Avoiding these errors will allow you to achieve a clean, clear result that will be highly valued by those who evaluate or admire your model.
What kind of model do you want to make?
There are architectural, urban, ecological, school, artistic, and even conceptual models. Determining the type from the beginning allows you to select the correct materials and organize your work time.
For example, a school model might focus more on color and simplicity, while a model for a science fair requires greater precision in proportions and details.
Creative use of recycled materials in models
In the pursuit of creating a unique and environmentally friendly model, the use and implementation of recycled materials is an innovative option. Cardboard, paper, or plastic containers can be objects that help unleash your imagination.
By combining the materials we offer at Panafargo with objects you already have at home, you can start a project that contributes to the environment and is truly original. Get active and help reduce the ecological footprint of your creations, promoting environmental awareness.
Tips for integrating recycled materials:
1. Conscious selection:
Examine objects in your environment that could be creatively reused. Opt for materials that fit your model's theme and, at the same time, provide interesting textures and details.
2. Proper preparation:
Some recycled materials may require preparation before being incorporated into your model. Cleaning, cutting, and adapting are key processes to ensure that recycled elements integrate harmoniously into your project.
3. Material combination:
Experiment with combining recycled and conventional materials to achieve unique visual effects. The intelligent integration of recycled elements can add authenticity and personality to your model.
You can apply these materials with the help of products from our store for creative touches, such as:
- Buildings with cardboard: Use cardboard boxes to create architectural structures. Boxes can be cut and shaped to represent walls, roofs, or even elevated terrain.
- Details with caps and containers: Bottle caps and plastic containers can become surprising details. From windows to decorative elements, these objects can offer a unique aesthetic.
Panafargo: your best ally
Want to know more about how to make a model? Discover all the tips we have to inspire your projects and crafts. Find all the materials you need at Panafargo and bring your ideas to life.