


Learning by doing is one of the most effective ways to retain and apply knowledge. Among the many techniques available, model-making stands out as one of the most preferred. This type of representation allows for highlighting numerous internal and external aspects and demonstrating the functionality of a structure. That's why it is used so frequently. However, it is essential to follow a series of steps to make a model. At Panafargo, we tell you what these steps are and why you should consider them to achieve an excellent result. Join us!
1. Understand the complexity of the model
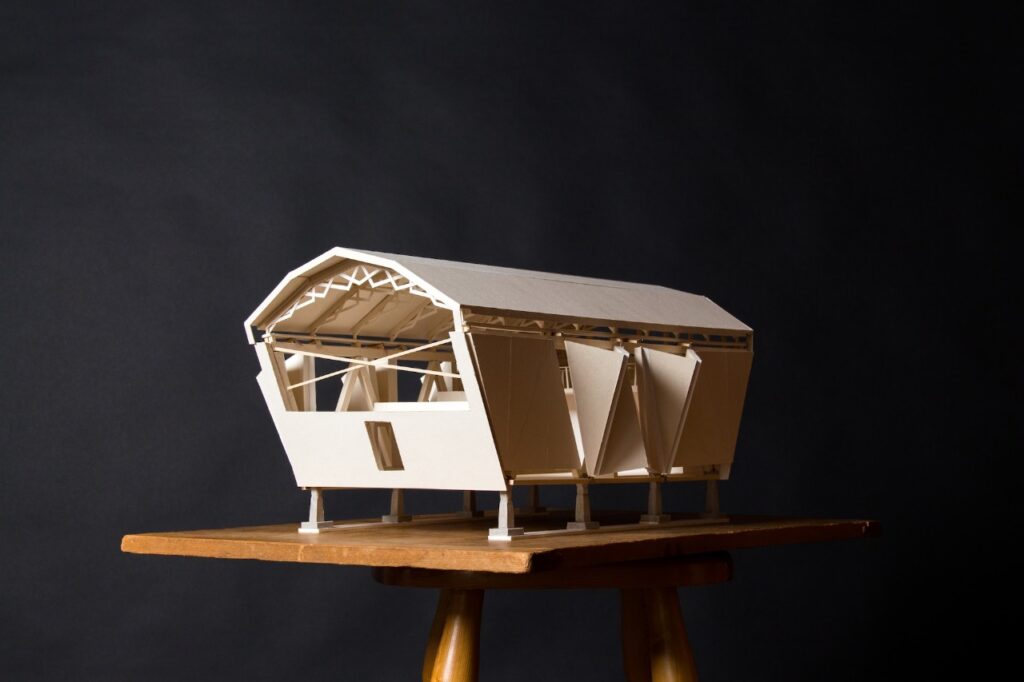
Before you even start making a list of materials and outlining your design, it is crucial to consider the purpose of your model. A model for a primary school project is not the same as a more advanced one for a high school science fair. And much less if we consider a university setting, where design, architecture, and engineering present a true challenge.
By understanding how complex it is to create, you will be able to have a more precise design, appropriate materials, and the characteristic touch that makes it stand out among other models. This way, you won't forget any key aspect, even preventing it from being damaged when you transport it.
2. Create several designs
Among the steps for making a model, it is crucial to gradually refine your idea. This ensures that the final design is the most complete and best develops your concepts. Below, we present a series of stages you should consider for the design:
-
- Sketch: a very basic, broad outline of your proposal.
-
- Draft: the essentials, what will definitely be in your model, are already defined on paper.
-
- Preliminary idea: it's time to start adding the details that your model will have.
-
- Initial design: this stage consolidates the basics, the details that must be included, and you begin to think about what can make it stand out.
-
- Final design: this is the last stage of the preliminary drawing. Here you are ready to buy the materials.
3. Establish a timeline
Time is crucial. Establishing a work schedule helps to divide the process into more manageable stages. Assign deadlines for each phase of the project, such as:
-
- Research and preliminary design: 2 days.
-
- Material purchase: 1 day.
-
- Construction and assembly: 5 days.
-
- Details and final painting: 2 days.
4. Purchase the right materials
Now that you have your complete design on paper, the next step in making a model is choosing the materials. Here you will also take into account the first step because the materials will not be the same if you are wondering how to make a DNA model as they would be if you are focusing on a house model. However, no matter what you need for your project, at Panafargo you will find the best materials to start building, including:
-
- Corrugated cardboard
-
- Styrofoam
-
- Foam board
-
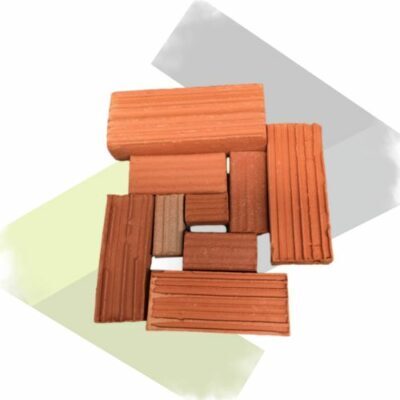
- Bricks of different sizes
-
- Molding tools
-
- Drafting boards
-
- Rulers and compasses
-
- Wood
-
- Cork sheets
-
- Scalpel or utility knives
-
- Glue or adhesives for different materials
-
- Acrylic paints
-
- Adhesive tape
-
- Fine-cut scissors
-
- Translucent plastic or acrylic
- Sandpaper
5. Prepare your workspace
Before you start building, make sure you have an adequate space to work. Organize a flat, clean surface where you can easily manipulate the materials. Lighting and access to tools are also important aspects.
Tip: If you are working on a large model, make sure you have enough space to move around and assemble the model without damaging or dropping it.
6. Start assembling
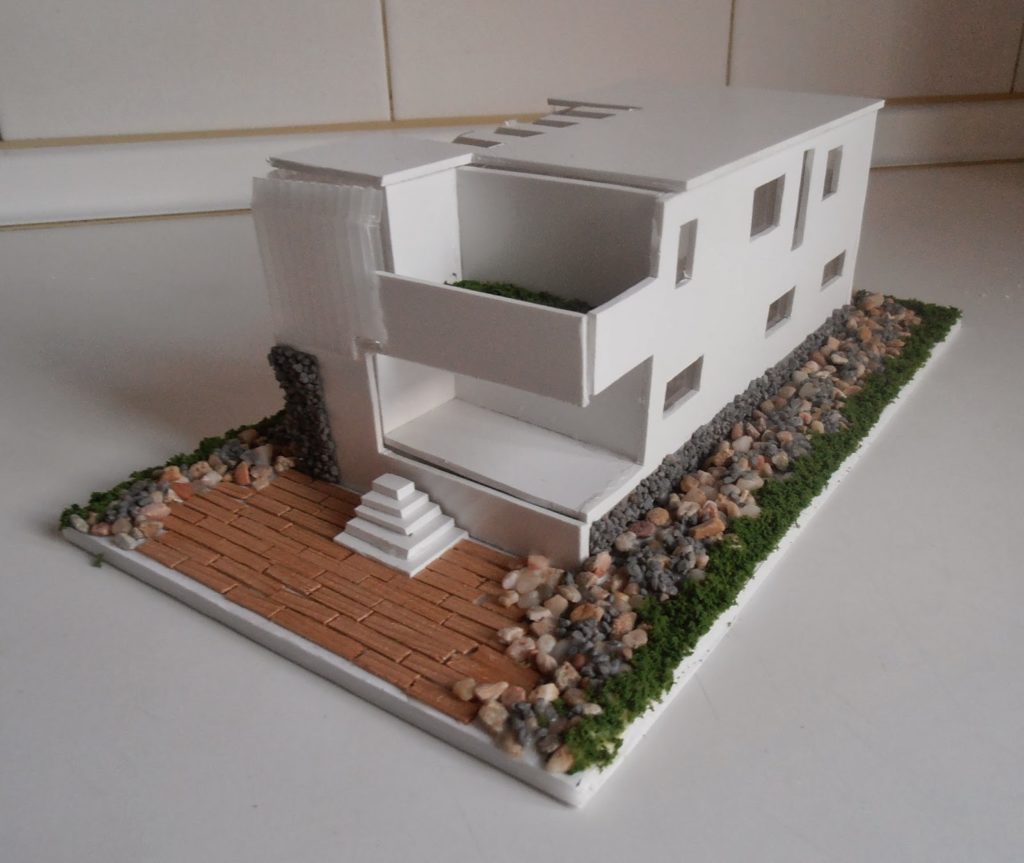
This is the key point in the steps for making a model. This is where you begin to assemble the different pieces by following the previous steps. This way, your science project will have a special touch, or your architectural model will be able to reflect everything you have learned in your classes.
Construction stages
Divide the model's construction into several clear phases or stages. For example:
-
- Base and main structure: This includes the foundations, the skeleton, or the main base of the model.
-
- Details: Add specific details according to what the model represents, such as buildings, trees, vehicles, etc.
-
- Final touches: Paints, adhesives, and decorative details.
Tip: When working on these stages, make sure to always follow the final design and adjust as needed. It's always good to be flexible to adapt to unforeseen circumstances.
7. Review and final adjustments
Before considering the steps to make a model complete, review it carefully. Make sure all details are complete and everything is assembled correctly. If you find any errors or missing parts, take the time to correct them.
Tip: If possible, ask someone else for their opinion on the model. Sometimes, a fresh pair of eyes can spot details that one might overlook.
8. Presentation and Transportation
If your model is going to be publicly presented or moved, it is important to consider how you will safely transport and present it. Make sure the materials are resistant for transport and that fragile parts are protected.
Tip: If it is a large or delicate model, use boxes or support structures to prevent damage during transit.
Everything for your models with Panafargo
After completing all these steps to make a model, you will get a dedicated and professional finish. Always remember to use excellent quality materials. We invite you to explore our different sections to find your supplies or you can also contact us for personalized advice.