


Having a hobby in our lives is essential; having some art is much better. Today we will show you oil painting step by step.
Whether it's oil painting, country painting, fabric painting, or any other art form; it is of vital importance to our lives. Doing it frequently can bring great benefits to our lives.
Before we start, we want to share two articles with you. The first is about Innovative Office Products. And the second, Lettering Definition.
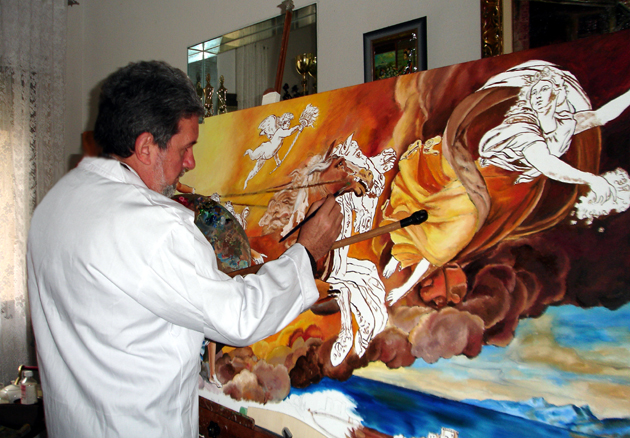
Oil Painting Step by Step
Here are some simple steps for oil painting.
- Choose the subject: This is the first thing you need to define, what you are going to paint. Before you start, you need to be clear about this so you can buy everything you need. You define the canvas size, the colors you will need, and the technique as well.
- Composition of the painting: Find a common thread that unifies the different elements (lines, shapes, colors, light) of a scene into a coherent whole. Your intuition is your best ally! An unusual angle will enhance the interest of the painting. Observe the subject by focusing on a detail or capturing the entire scene. To do this, use a window cut out of cardboard or form a frame with your hands. If you are working with a photo, frame it with strips of paper. Test your ideas on paper: make as many sketches as necessary, varying the framing and the play of light and shadow.
- Preliminary drawing: This is more of a "framing guide" than a genuine drawing. It is not a mandatory step, but it is very useful for then applying the colors. On the support, sketch the subject with charcoal, remembering to spray a fixative to prevent the colors from getting dirty; or with pencil, very lightly so that it doesn't show through the paint; or with oil or acrylic, using a very neutral and diluted color. Not sure about your pencil skills? Transfer the main lines of the model using the grid technique or tracing paper if you are working from a photo. Work with broad lines, get to the essential: do not try to faithfully reproduce the scene in its tiniest details, or you will unnecessarily overload your painting.
Other steps are:
- Preparation layer: For the paint to adhere well and dry without cracking, you need to apply a thin base layer. You can also use acrylic paint, which dries faster. White or colored? A white background brightens the tones, ideal for color-rich subjects. A colored background offers a base tone that will unify the painting: choose the color based on the final tone you want for the painting (warm, cool, light, dark). Use well-diluted paint and wait for it to dry before moving on to the next stages.
- Applying layers of color: Color is applied by layering. Start with the light and shadow areas, fill in the large color areas, and then work patiently, layering increasingly intense colors. There is another, faster technique, intended for more experienced painters: "alla prima" painting. Used outdoors or with a model to capture the spontaneity of a scene, it allows the painting to be finished in a single session, as each layer of color is applied over the still-fresh previous one.
You must respect the golden rule of oil painting: paint "fat over lean". Each superimposed layer must be slightly "fatter," meaning richer in oil, than the previous one. To do this, dilute the first layers a lot and the subsequent ones less and less. Otherwise, your painting could crack over time. The second basic rule: wait for the paint layer to be completely dry before applying the next one.
Painting is silent poetry...
- Final layers and touch-ups: This is where the true work of the painter takes place. You no longer work "in the mass," but with light touches. This is called "making the canvas sing." It is the final chord of the tones. Use undiluted paint, directly from the tube. Step back frequently to judge your work. Be your first viewer! Don't rush too much! Refine your work little by little, apply highlights, work the shadows, pay attention to details. From this moment on, any profound modification of the color implies a change in all the tones of the painting. Learn to stop... Now, sign the painting!
Article taken from Latelier Canson.
LET'S TALK